Earlier this year, I made a list of projects we’ve already completed that I wanted to write about in the blog – one of which was our master bedroom makeover. Well, today is the day (for Part 1 at least) – yay!
When we saw the house in December of 2019, the master bedroom looked more or less like the photo below from the estate agent.
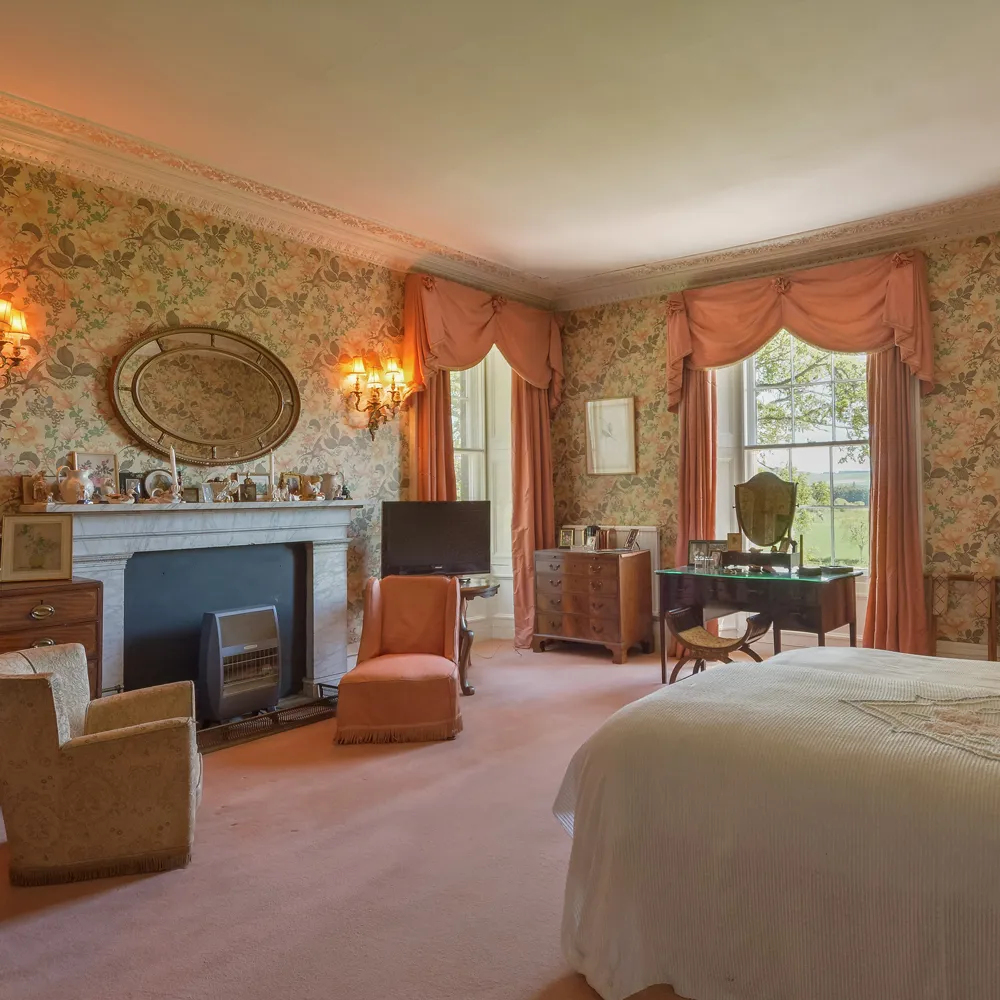
While it had undoubtedly been a pretty room once upon a time, the years had taken their toll on both the carpet and the wallpaper, which were both sun faded and stained – and this was even more apparent when the room was emptied of furniture, artwork, and light fittings.
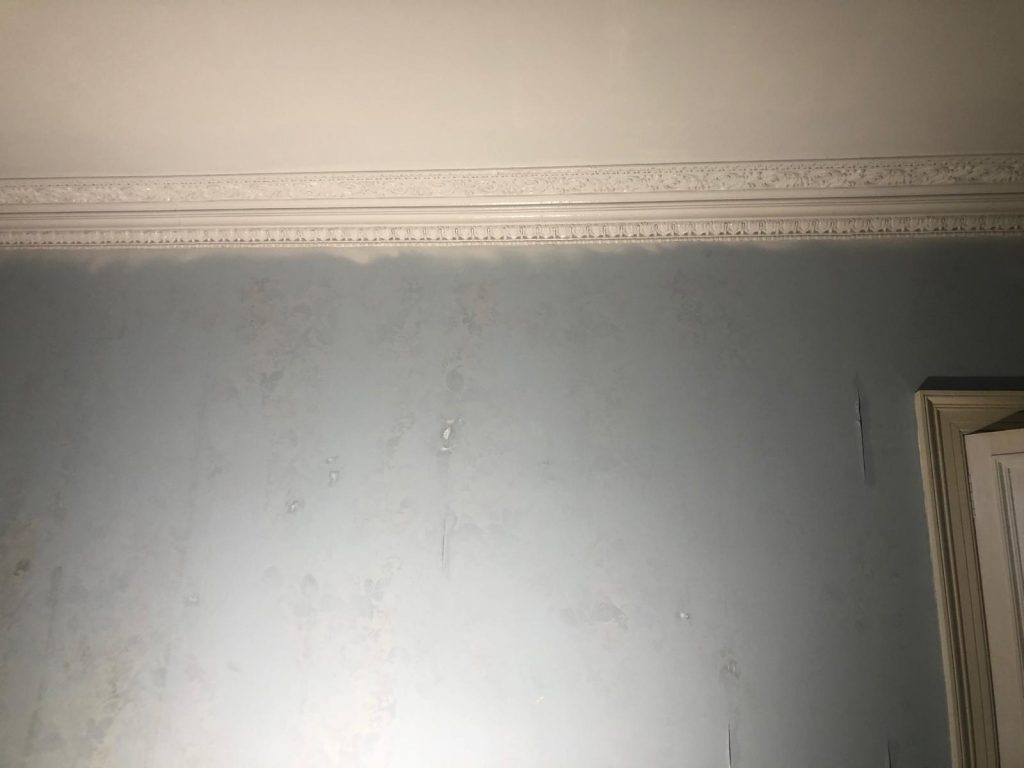
The photo below was taken a few days after we moved in – you can really see the staining on the wall close to the mattresses and the discoloration of the trim paint in this shot.
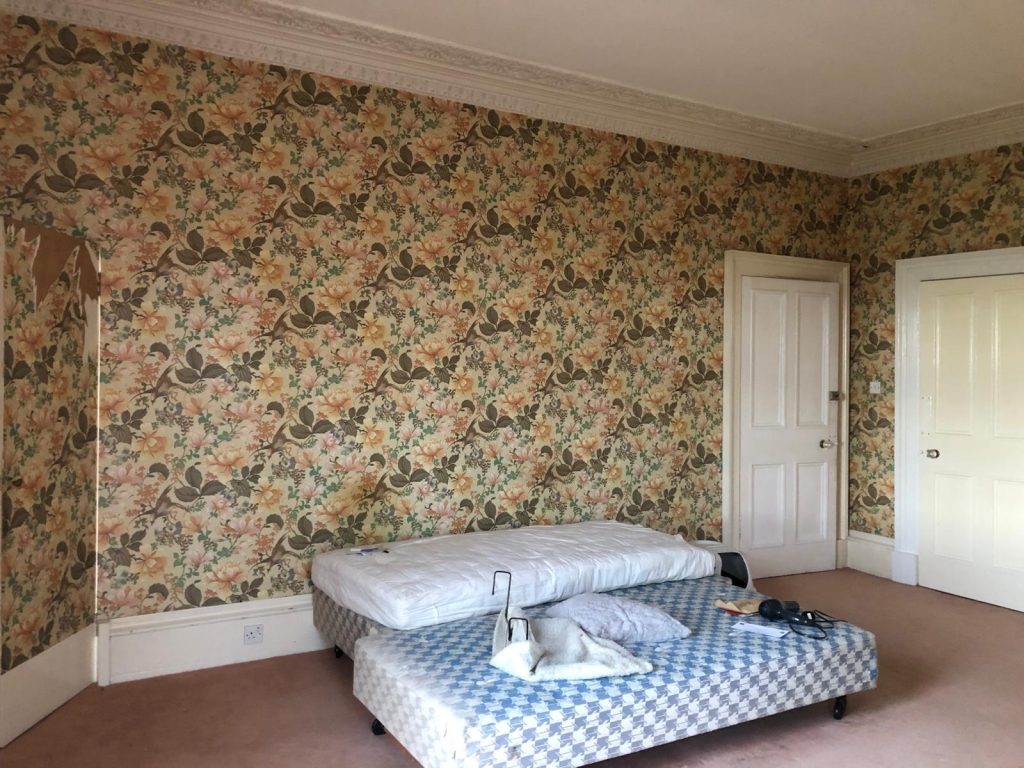
As an aside, the previous owners gifted us these mattress bases and the mattress you see here; the label on the mattress noted that the manufacturer was the official mattress manufacturer for HM the King – which means it was at least from pre-1953…! It was also extremely prickly – it was stuffed with horse hair, and when we later tried to remove it, it was so heavy we could only haul it down the stairs after cutting it in half – which meant we trailed a LOT of quite old horse hair all the way down the stairs 🐴😳 0/10 do not recommend.
Anyway, it was clear that the room needed a refresh.
In the longer term, our plan was (and still is) to use a patterned wallpaper in this room, but someone (probably not the someone you are guessing, either!) wouldn’t move in to this room until we had it sorted out a bit – so the initial goal was just to tidy it up as economically as possible.
After discussing with our trusty decorator extraordinaire David, we decided to paint the existing wallpaper rather than stripping and relining prior to painting as we typically would. So, in December 2020 (I can’t believe this was nearly 3.5 years ago and I’m only just writing about it now… 🙈), David started the project.
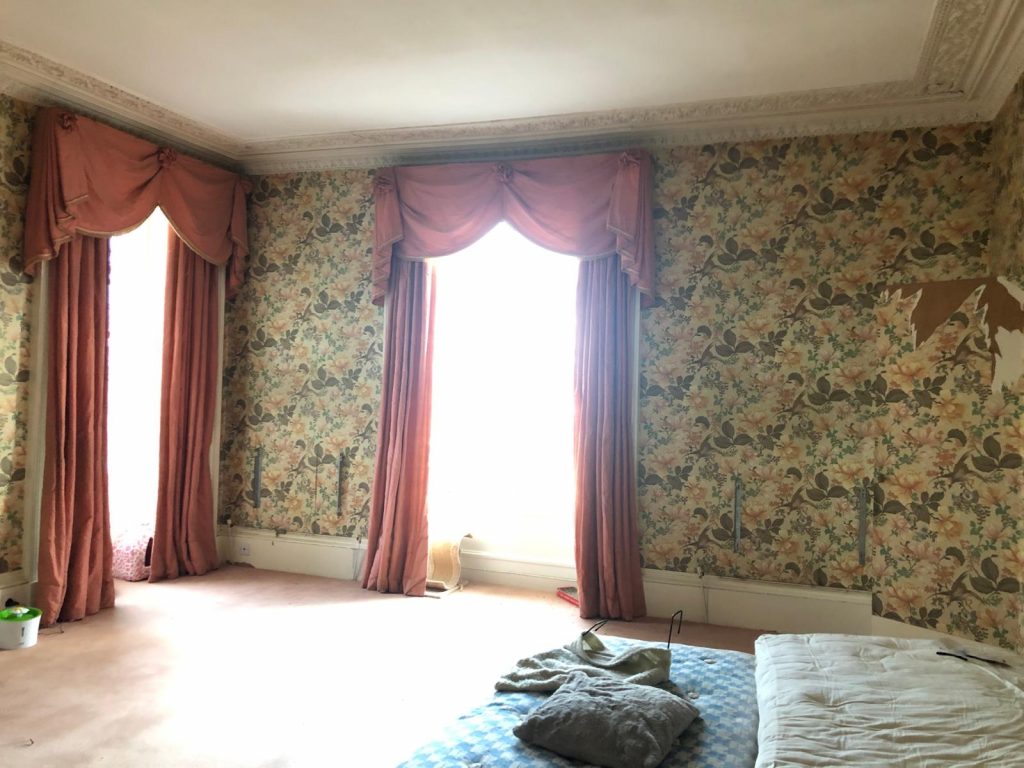
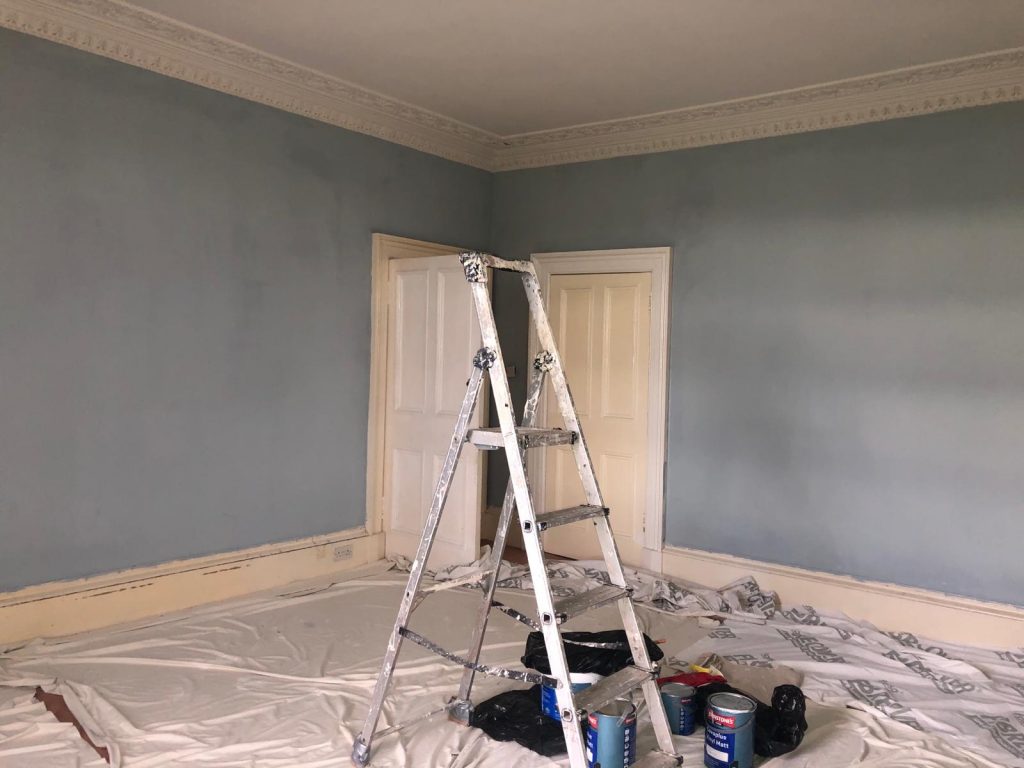
Here are a few shots of his prep work (radiators off the wall, curtains and pelmets down, everything wiped down ready to go):
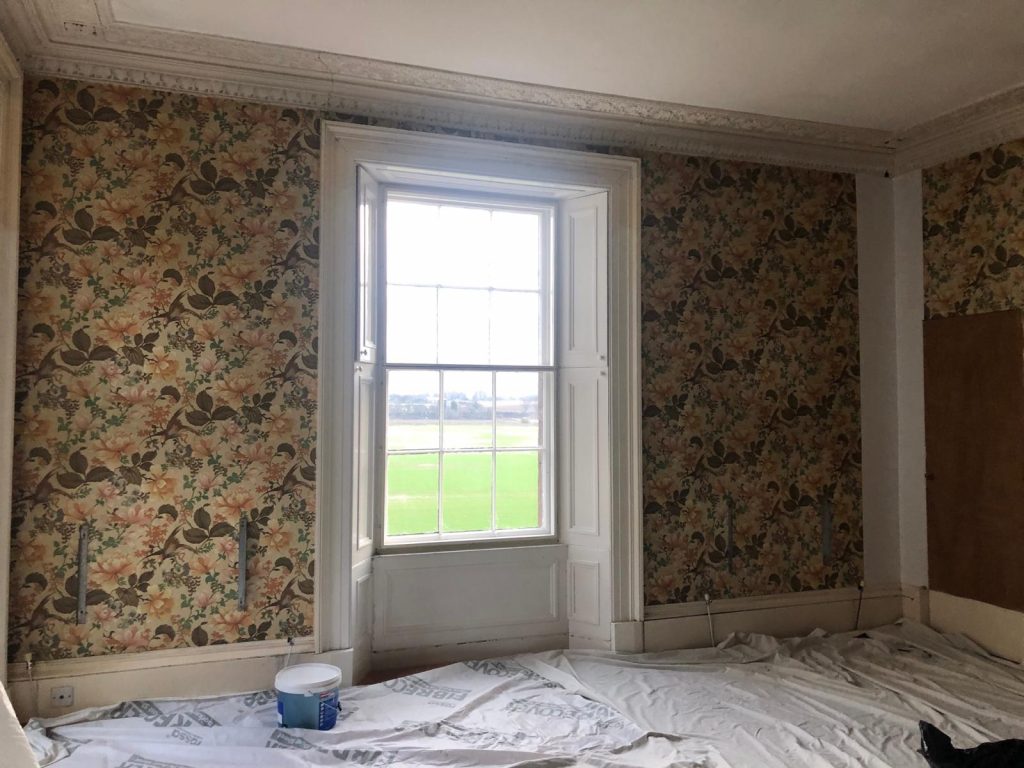
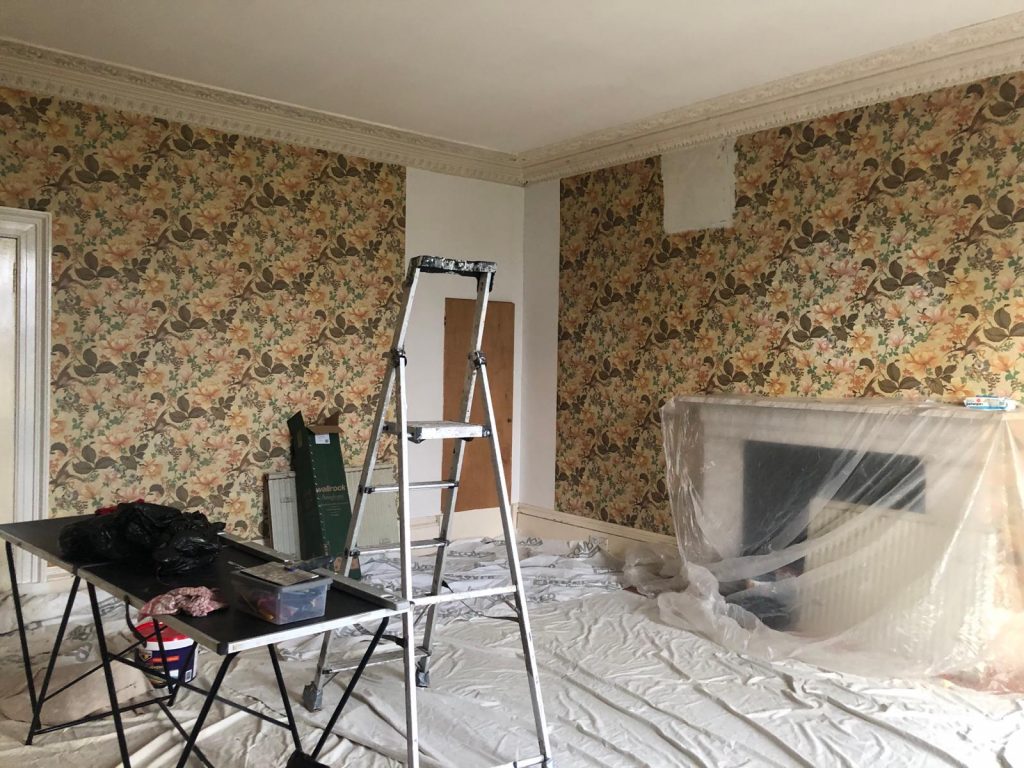
While we did paint over most of the wallpaper, there were two hidden doors that were wallpapered, and David decided those needed to be stripped before painting, so I got some great big swatches of the paper to put away for safekeeping. Bet you didn’t even really think about the doors in this room before you read this – but there are FOUR SEPARATE DOORS.
Why, you might ask? Well, there is the main entrance, a door to the dressing room (hidden), and TWO doors to the TWO en-suites (one hidden, one regular). Four doors. 🤯
Now, on to the painting shots!
After a surprisingly lengthy debate, we chose a Farrow & Ball colour called Parma Gray (though it’s actually blue, so who knows why they called it that) – but since this was just an interim fix to make the room livable, we didn’t want to spend a lot of money, so we had it mixed in Johnstone’s at the local trade supplier. I know there will be F&B purists who disagree, but in our experience, it’s a lovely paint to work with and it is literally half the price 😎
In the photos below, you’ll see that David’s process is to do the walls first, and then the trim:
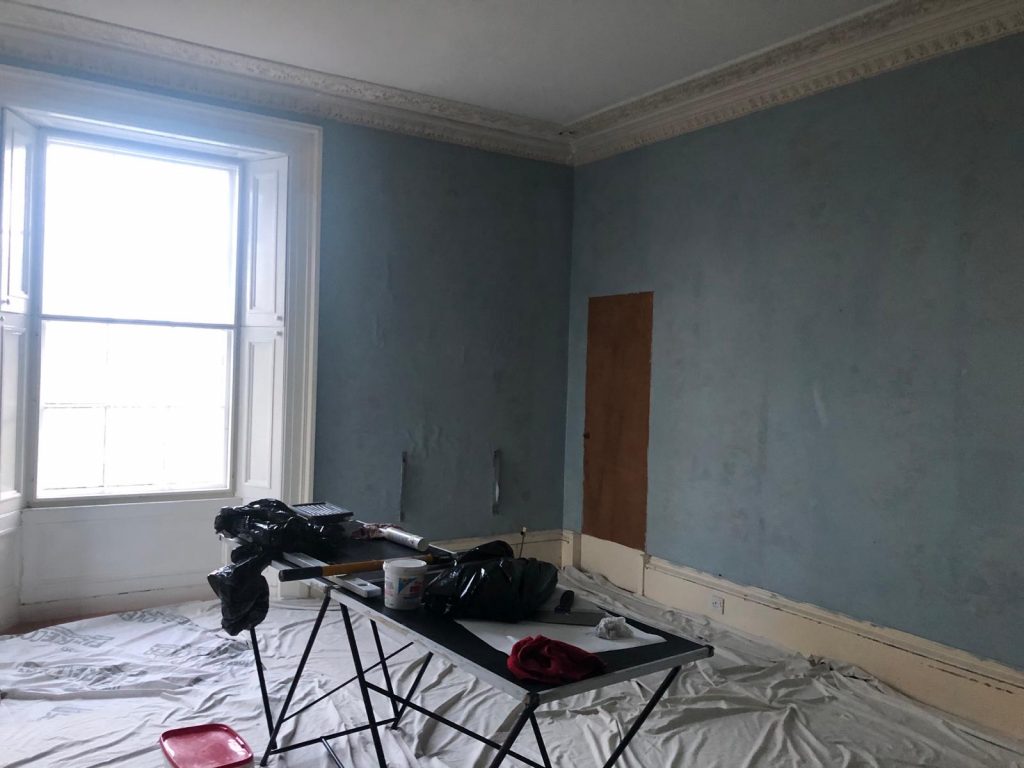
Now that you have the new paint to see the contrast, you can really see how shabby the trim had become.
We were particularly anxious about handling the cornicing, as we wanted the lightest possible application of paint so as not to clog up the details any further, which had obviously already been painted many times in the past. After the first coat of wall paint, David used his sprayer to get a nice even yet light coating on the cornicing, which really started to pull the room together.
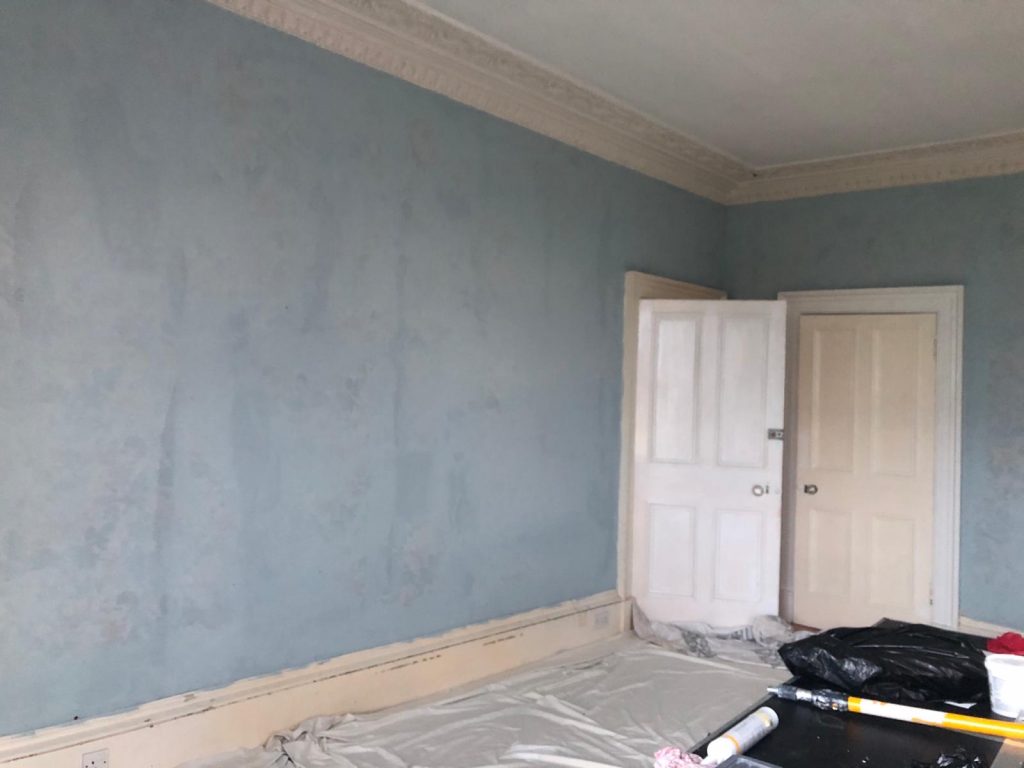
With the second coat of the Parma Gray, the walls started to look a lot better, and the overspray from the cornicing was cleaned up.
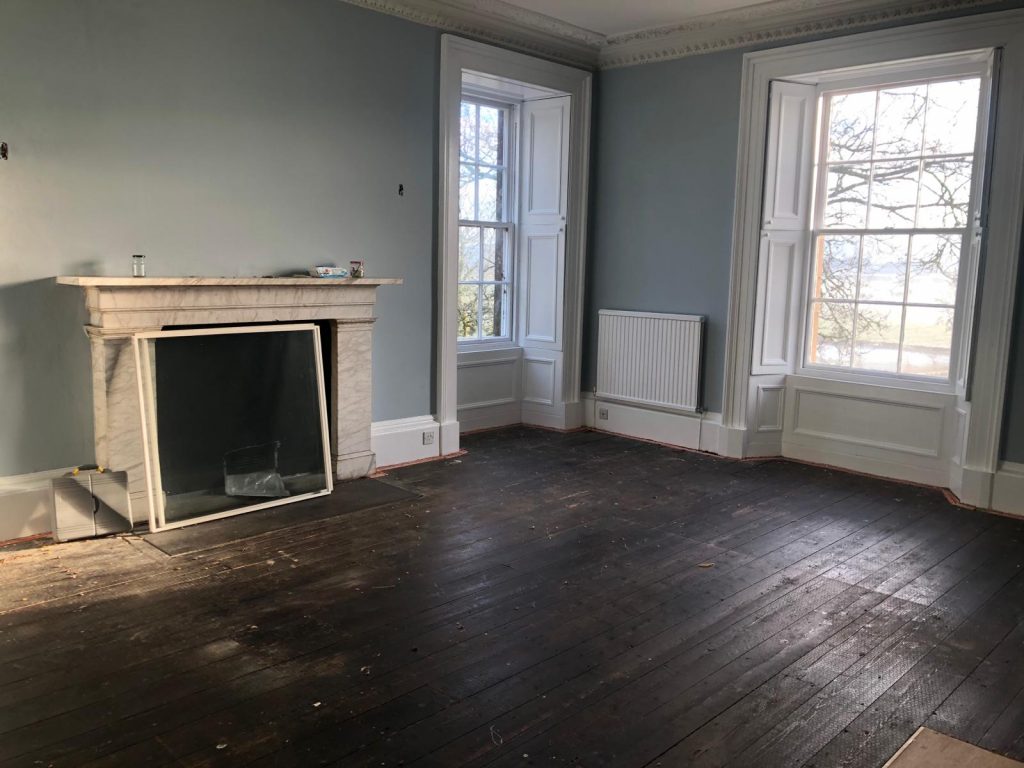
And then, as soon as the trim was done, just like that, everything came together like magic!
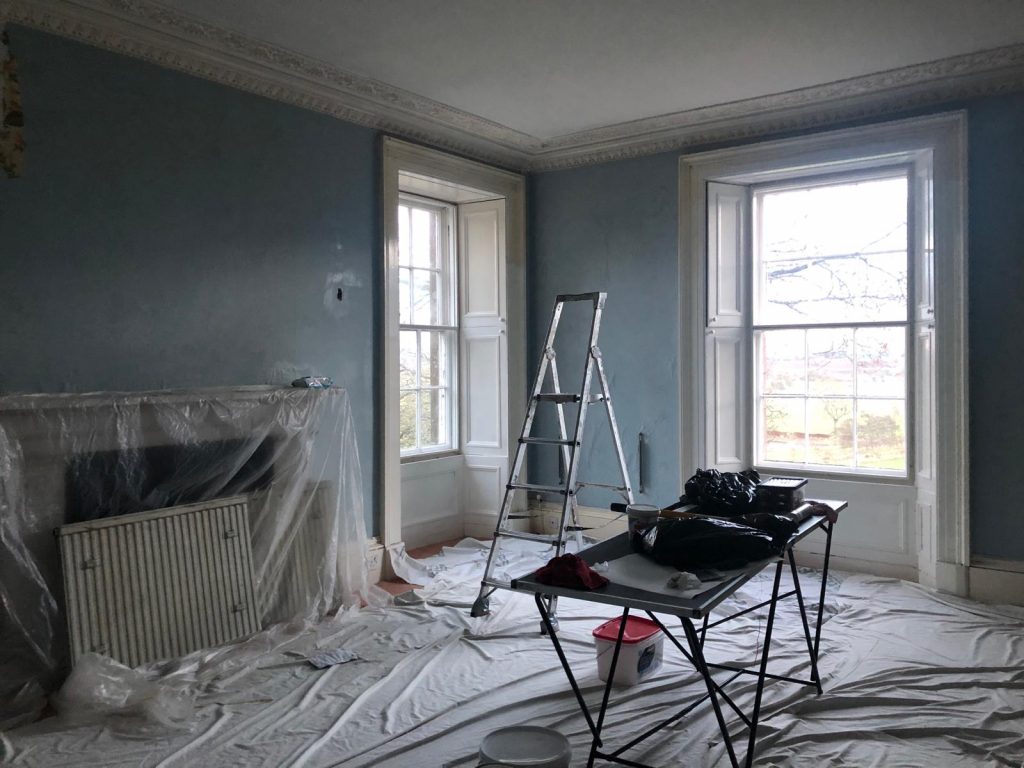
My photo sequence is missing a ‘during’ shot because David literally got the first coat of all the trim done in one day (and it effectively looked ‘done’ after that!) – but here is the end result for the painting part of the makeover (note – we had also taken up the carpet already in prep for the floor work, which will be my next post 😁)
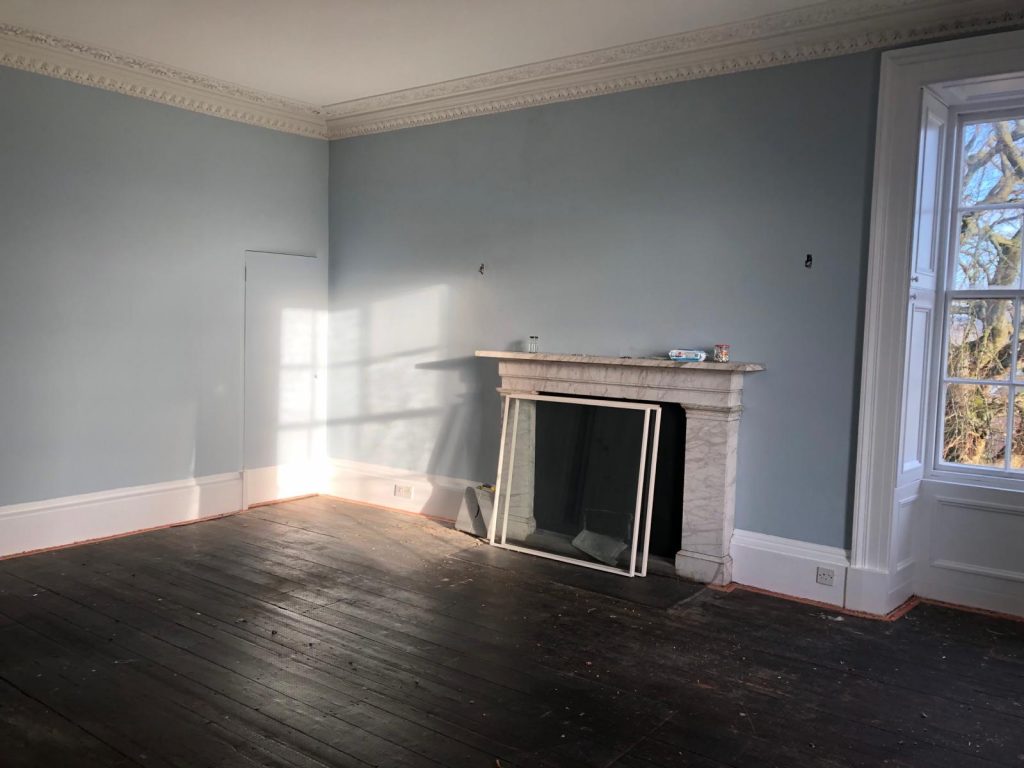
We had worried that the Parma Gray would be too cold in the room, but we absolutely LOVE it. One of the great things about Farrow & Ball is that they use the same colour palette in their wallpapers and their paint, so when we do come to re-paper this room (hopefully next year), we intend to choose a paper that uses Parma Gray as its foundation.
In my next post, I’ll share the floor fix project and some photos of the bedroom as it exists now – we’re really happy with it as an interim state; fingers crossed you’ll like it too!
In the meantime, happy Sunday to you all and, for those of you experiencing Storm Kathleen, stay safe and don’t blow away! 💙
What a stunning room!
It’s lovely!
Oh I can’t wait for part two! I forgot how incredible this room looks! Also… I am forgetting this secret door!
Gawjus!
Gorgeous room and i LOVE the paint color 😍
It’s a beautiful room
It’s beautiful & I love the color..